This guide is currently outdated as there is now a way to "prospect" tiles and reveal resources without having to manually search every tile.
Why do I need to explore?
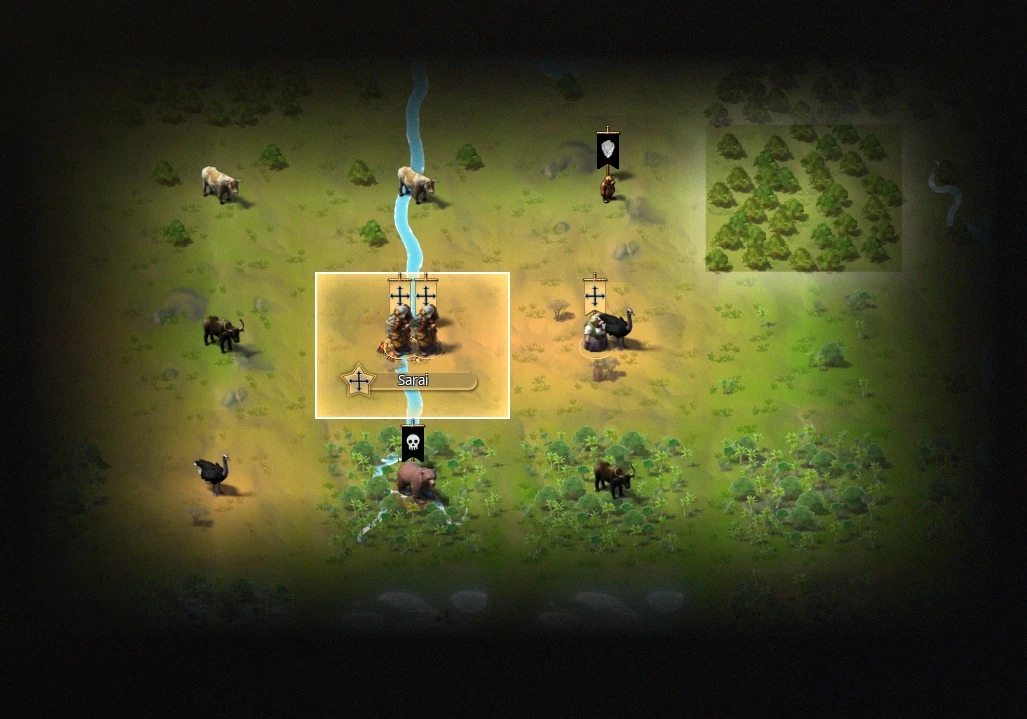
Simply put, Ymir is the type of game where you won't get anywhere if you stay in your secluded lonesome base until doomsday comes. You will eventually need to create a unit to send out exploring the map. However, a cursory glance of the overworld will show absolutely nothing of substance beyond up to four things. Biome, Landscape, River/No River, Extra Feature (Mountain, River, Lake, Sea).
This means to actually find any worth while resources, you need to delve deep into each and every single tile to manually search for things that you might actually want to take, and keep for yourself!
There's just one problem. There's no in game way of keeping track of resources, and writing things down is cumbersome. Sharing this information with friends can be equally painful, even if you abuse MS Paint like I did.
So what do I do?
Well, I would look into one of the hundreds of 2d Mapping Tools that're found online. They're traditionally used for Dungeons and Dragons campaigns, but I find that even the most rudimentary ones can be converted to mapping out a game of Ymir quickly and easily.
This is no endorsement of the following website, it's merely the first one I found that can be shared with friends online, but my example is going to be using: http://hextml.playest.net/blank.html
I need to manually place every tile?
Well, unless you want to use graph paper, yeah, you kind of have to. Until we get a mod API, or a way in game to allow us to keep track of resources, we're pretty much forced to do this. It's not as hard as it seems though, once you get the hang of it.
An example of how I map my games is of the following:
 ->
-> 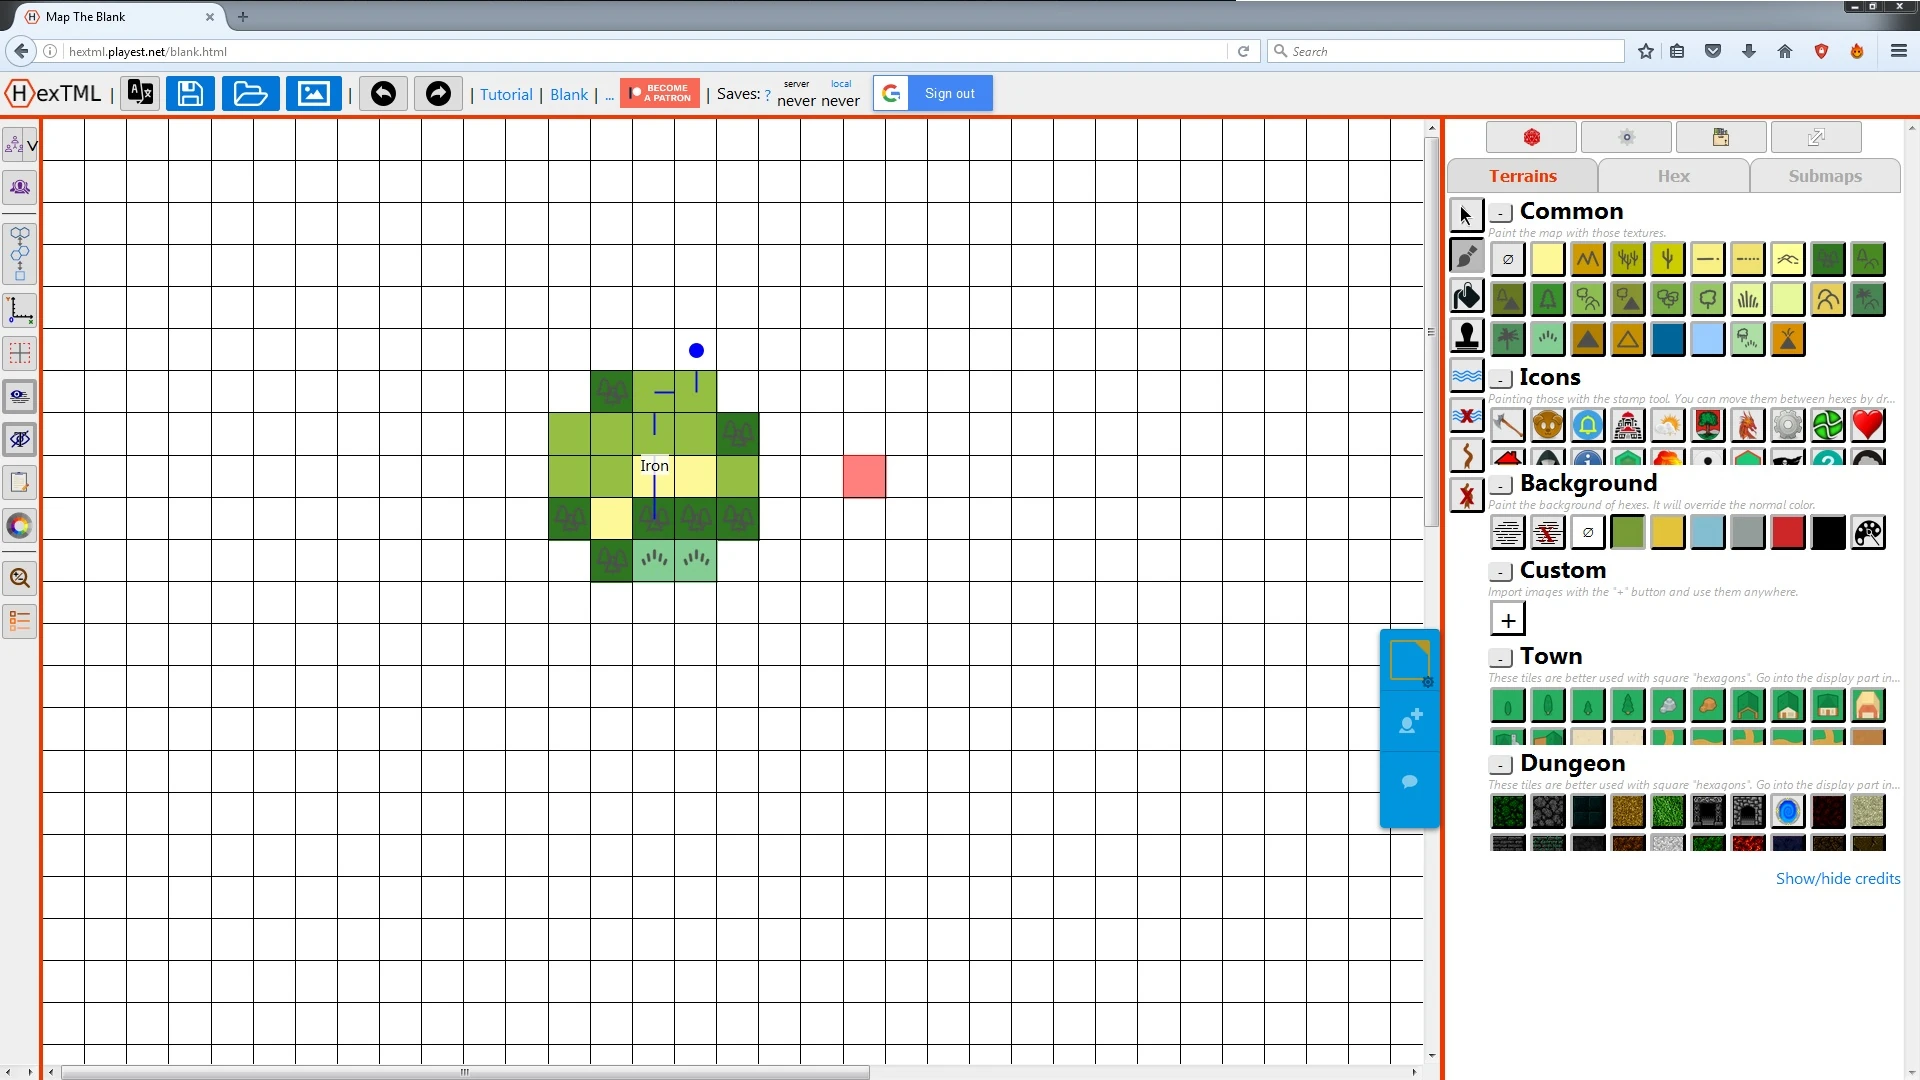
You will notice an annotation on my capital city. That annotation says "Iron" - obviously this means that Iron can be found on this tile, as I found it on my capital city after a quick scan.
I will now begin to explore around my immediate vicinity for any other potential resources. Given my starting location, the fact I'm surrounded by Continental tiles, and the fact that I already have Chickpeas and Lettuce on my Arid starting location, I will be looking for the following resources that I deem important, in order of most important to me, to least important:
As I find them, I will begin listing them off on my newly created map as seen on the right, using annotations.
 ->
-> 
That's amazing! How do I do that?
Well, my intrepid exploring friend. It's as simple as loading up the website that I've listed earlier. You should probably sign in with your google account, and, immediately from there do the following:
- Click "Blank"

- Change from hexagonal -> isometric hexagonal -> square grid by clicking 2 times.
- Click the funny looking sunshine icon, titled "Maps settings"
- Make the size of the map as large as you want horizontally and vertically. I made it 50 x 50 as I rarely need more, but you can make it as large as you want.
- Click the paint icon:
- Click on either the Common, or other Icons that you want to use to determine landscape. It's up to you and your friends to decide what icons you want to use! I try to pick ones that look as close to the game as possible.
- Add rivers using the 3 waved icon , clicking and dragging to create the river effect. You can delete the rivers using the red X'ed out 3 waves icon.
To add annotations that will showcase exactly where your important resources are -
- Click the Cursor Icon:
- Highlight any tile so that it shows up with a red color overlay.
- Click the "Hex" tab
- Type on the left hand "Text Box" the name, or initial of the resource you want put on the box's overlay. It will stay there until you delete it!
To save the map, click the floppy disk icon on the top left. ![]()
To share with your friends, click the "Add a friend" button shown here, they can even help you edit it! 
That's it! Experiment and enjoy!